Difference between revisions of "Blog/Publish"
(→Tumblr) |
(→Tumblr) |
||
| Line 93: | Line 93: | ||
{| | {| | ||
|[[Image:Tumb1.png]] | |[[Image:Tumb1.png]] | ||
| − | |'''Step two: Login to Tumblr''' | + | |'''Step two: Login to Tumblr, go to "Customize"''' |
| − | Start by logging into Tumblr and | + | Start by logging into Tumblr, going to the "Customize" dashboard, and clicking the "Theme" menu item. |
|} | |} | ||
Revision as of 22:27, 30 August 2010
You can add a CC license to almost any blog as you can almost any website. Here are instructions for a few specific blogging platforms.
Contents
WordPress
See Adding a CC mark to a WordPress blog.
Blogger
 |
Step one: Choose a license
Start by choosing a license for your work at the Creative Commons website. |
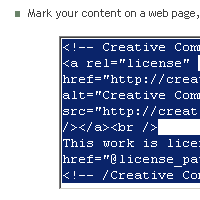 |
Step two: Copy the code
On the "Mark your content" page of the license process, copy the code provided by highlighting it with your mouse and hitting ctrl-c (command-c on a Mac). |
Movable Type
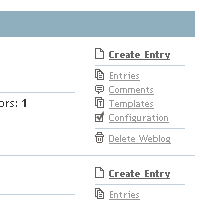 |
Step one: Login to Movable Type
You'll want to start by logging into your Movable Type installation, and finding the "Edit Configuration" link for the blog you'd like to license. |
Typepad
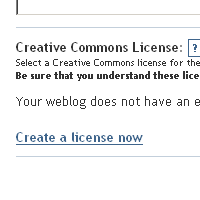
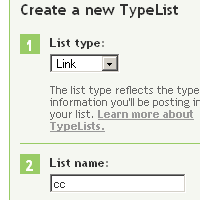
Begin by follow the first two steps above for Blogger to choose a license and copy the code.
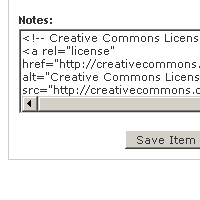 |
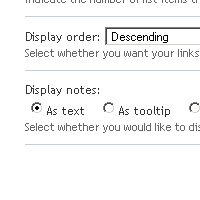
Step four: Paste code into your new Typelist
Click "New Item" to add a Typelist item, and paste your license code into the "Notes" area and save the item. |
Tumblr
 |
Step one: Choose a license
Start by choosing a license for your work at the Creative Commons website. Choose a license for your Tumblr blog. Make sure to fill in all fields as completely as possible. "Source Work URL" should be the blog URL. |
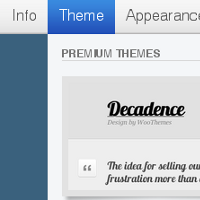 |
Step two: Login to Tumblr, go to "Customize"
Start by logging into Tumblr, going to the "Customize" dashboard, and clicking the "Theme" menu item. |
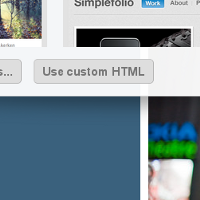 |
Step three: Modify HTML
Click the "Customize HTML" button on your theme to edit the HTML directly. |
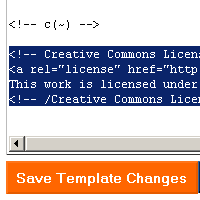
| Step four: Embed license code in the Tumbler theme HTML |
