Difference between revisions of "CcPublisher Uploading to ccHost Installations"
Bruno Dilly (talk | contribs) |
Bruno Dilly (talk | contribs) (→Step eight: Fill submission form) |
||
| Line 41: | Line 41: | ||
[[Image:Ccp2_screenshot_installation_submission.png]] | [[Image:Ccp2_screenshot_installation_submission.png]] | ||
| + | Filling submission form is an easy task, considering you had provided the information in the previous screens. It will verify if the license you had chosen is allowed by the server. If not, you will have to choose another one between the allowed. If you hover the mouse cursor over any field, a tip box will appears, explaining what it means. | ||
===Step nine: Start your upload=== | ===Step nine: Start your upload=== | ||
Revision as of 20:21, 20 August 2006
Contents
- 1 Using ccPublisher
- 1.1 Ten Steps to Upload Your Work to any ccHost Installation
- 1.1.1 Step one: Dragging your songs/videos into ccPublisher
- 1.1.2 Step two: Adding information about your works
- 1.1.3 Step three: Choose your license
- 1.1.4 Step four: Select your destination
- 1.1.5 Step five: Select ccHost Installation URL
- 1.1.6 Step six: Logging into the ccHost Installation you've choosen
- 1.1.7 Step seven: Pick up submission type
- 1.1.8 Step eight: Fill submission form
- 1.1.9 Step nine: Start your upload
- 1.1.10 Step ten: All done!
- 1.1 Ten Steps to Upload Your Work to any ccHost Installation
Using ccPublisher
Ten Steps to Upload Your Work to any ccHost Installation
Step one: Dragging your songs/videos into ccPublisher
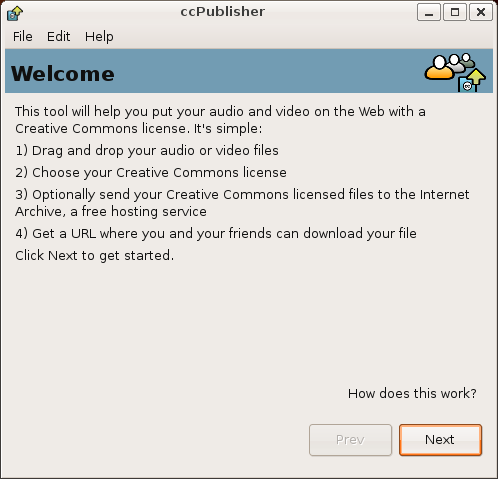
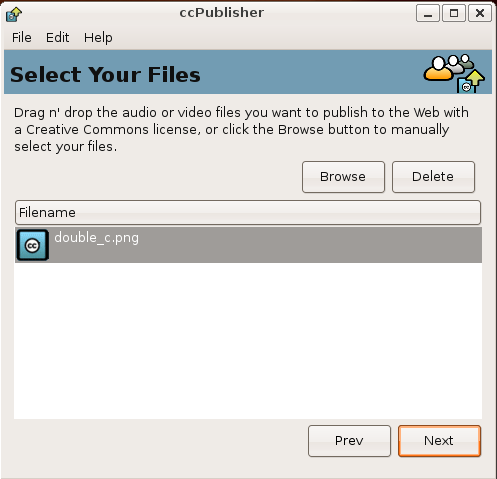
Start the ccPublisher application and hit Next on the introductory screen. The process starts by adding your files to be tagged/uploaded. You can use the browse function to find the files, or simply drag and drop as many files that you would like to license (all with the same license) and upload.
Step two: Adding information about your works
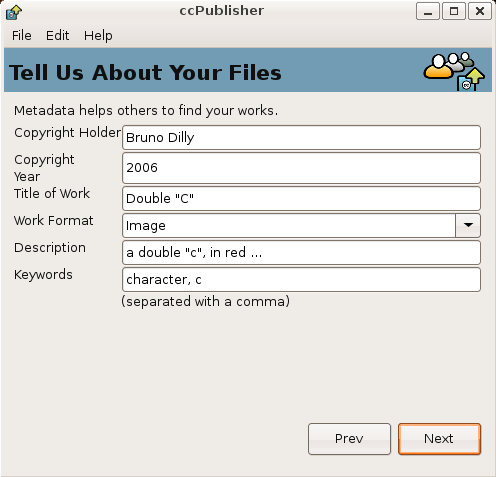
The next screen will ask for information about your work, which will help others find it at the ccHost Installation.
Step three: Choose your license
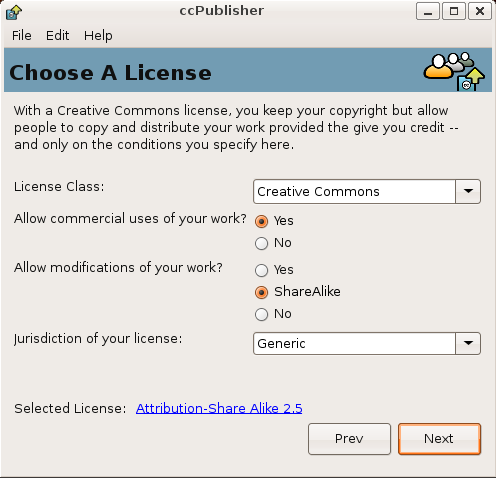
ccPublisher lets you choose one of several license types and the options for each.
Step four: Select your destination
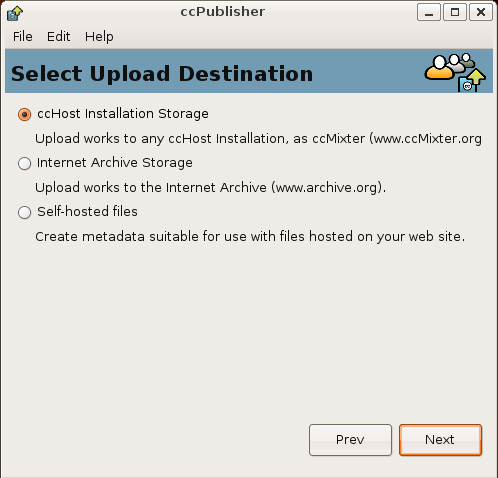
ccPublisher lets you upload your work to the Internet Archive, any ccHost Installation, or generate some HTML for use when hosting it yourself. Select your destination and click Next. For details on self-hosting, see CcPublisher Self-Hosting.
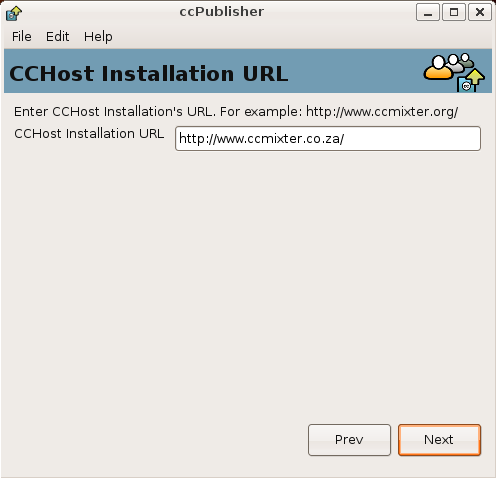
Step five: Select ccHost Installation URL
Step six: Logging into the ccHost Installation you've choosen
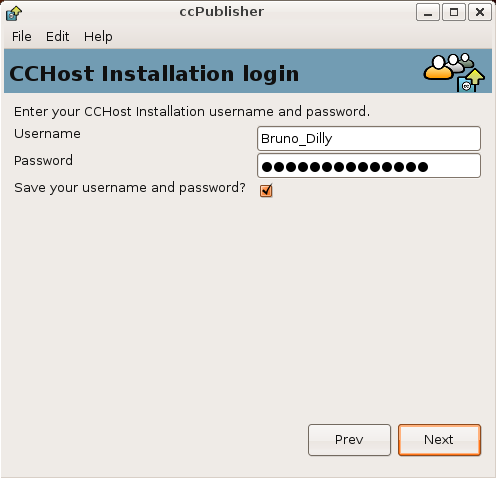
To upload your works, you'll need an account to associate your files with.
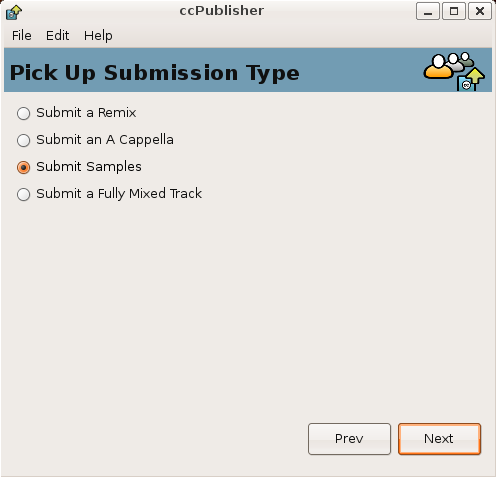
Step seven: Pick up submission type
Step eight: Fill submission form
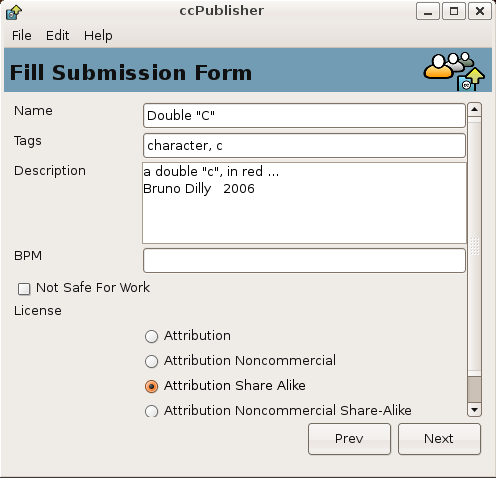
Filling submission form is an easy task, considering you had provided the information in the previous screens. It will verify if the license you had chosen is allowed by the server. If not, you will have to choose another one between the allowed. If you hover the mouse cursor over any field, a tip box will appears, explaining what it means.
Step nine: Start your upload
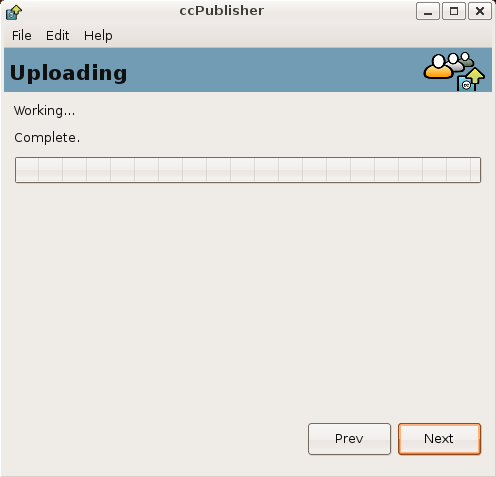
The final step is to upload your works. Depending on your connection and the size of files you are uploading, this step can take anywhere from a few seconds to several hours.
Step ten: All done!
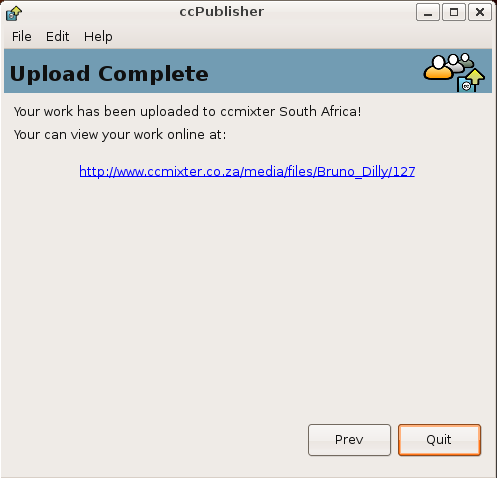
When your upload is complete, click Next and the Publisher application will furnish you with a URL at the installation you have choosen. If you'd like to use a file-sharing application or add the files to your own website, the file can be found in its original location on your computer, which you can upload to a site or move into a shared downloads folder for P2P (for more info, see our tutorial for sharing your CC music via Morpheus).
