Difference between revisions of "HOWTO Publish"
m (→Audio: https://www.triobrospace.com) |
m (Reverted edits by OpenIDUser583 (talk) to last revision by Chriswaterguy) |
||
| Line 9: | Line 9: | ||
| − | You can quickly and easily publish your audio files to the Internet Archive by visiting [http://www. | + | You can quickly and easily publish your audio files to the Internet Archive by visiting [http://www.archive.org/create/ http://www.archive.org/create/], which includes a license selection step. |
| − | For large files (>500MB), you may wish to use our CC Publisher application. CC Publisher is a tool that does two things: it will help you tag your audio files with information about your license and it allows you to upload Creative Commons-licensed audio and video works to the [http:// | + | For large files (>500MB), you may wish to use our CC Publisher application. CC Publisher is a tool that does two things: it will help you tag your audio files with information about your license and it allows you to upload Creative Commons-licensed audio and video works to the [http://archive.org/ Internet Archive] for free hosting. |
CC Publisher is available for Windows, Mac OS X and Linux operating systems. Download links and installation instructions can be found on the [[CcPublisher|CC Publisher]] page. | CC Publisher is available for Windows, Mac OS X and Linux operating systems. Download links and installation instructions can be found on the [[CcPublisher|CC Publisher]] page. | ||
Revision as of 17:21, 3 December 2010
Contents
Audio
Specific Sites
Internet Archive
You can quickly and easily publish your audio files to the Internet Archive by visiting http://www.archive.org/create/, which includes a license selection step.
For large files (>500MB), you may wish to use our CC Publisher application. CC Publisher is a tool that does two things: it will help you tag your audio files with information about your license and it allows you to upload Creative Commons-licensed audio and video works to the Internet Archive for free hosting.
CC Publisher is available for Windows, Mac OS X and Linux operating systems. Download links and installation instructions can be found on the CC Publisher page.
Using CC Publisher
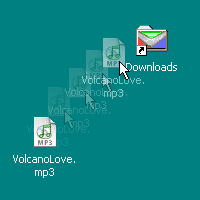
| File:1-ccpublisher.gif | Step one: Dragging your songs into CC Publisher
Start the CC Publisher application and hit Next on the introductory screen. The process starts by adding your files to be tagged/uploaded. You can use the browse function to find the files, or simply drag and drop as many files that you would like to license (all with the same license) and upload (all into the same collection at Internet Archive). |
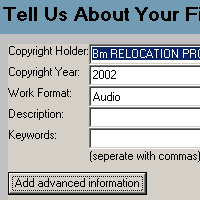
| Step two: Adding information about your works
The next screen will ask for information about your recording or video, which will help others find it at the archive and build up the metadata in your audio files. |
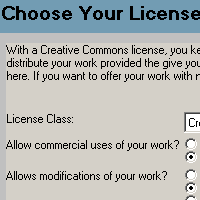
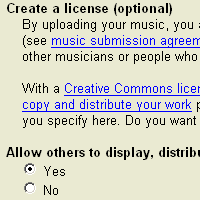
| Step three: Choose your license
CC Publisher lets you choose one of several license types and the options for each. |
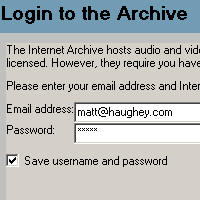
| Step four: Logging into the Internet Archive
To upload your works to the Internet Archive, you'll need an account there to associate your files with. If you don't have an account there, there is a handy button within CC Publisher that will launch a web browser and allow you to join it. |
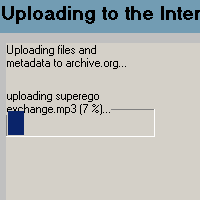
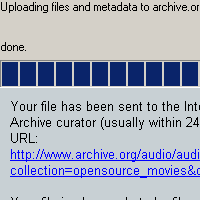
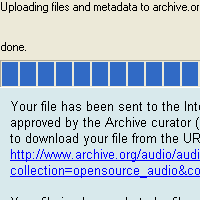
| Step five: Start your upload to the Archive
The final step is to upload your works to the Internet Archive. Depending on your connection and the size of files you are uploading, this step can take anywhere from a few seconds to several hours. |
| Step six: All done!
When your upload is complete, the Publisher application will furnish you with a URL that should be live within 24 hours at the Archive. |
Soundclick
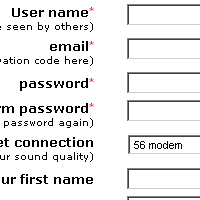 |
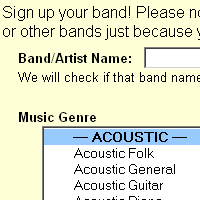
Step one: Sign up at SoundClick
SoundClick is a music website that features both signed and unsigned bands, offering unlimited storage for your band's music. The easiest way to post music online with a Creative Commons license is to let SoundClick handle all the hosting, posting, and licensing for you. Start by signing up a new (free) account at SoundClick. |
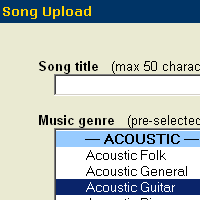 |
Step three: Upload your song to Soundclick
After adding information about your song, upload it to SoundClick. |
Morpheus
Morpheus is a popular windows P2P file-sharing application with support for locating and displaying Creative Commons licenses on audio files. The following steps describe the process to distributing your audio on the Morpheus network.
Finding Creative Commons licensed audio on Morpheus
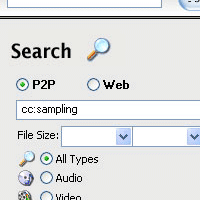 |
Search for licensed music at Morpheus
You can search for licensed songs at Morpheus by putting "cc:sampling" into the search field (search for other licenses via "cc:sharing" is coming soon). |
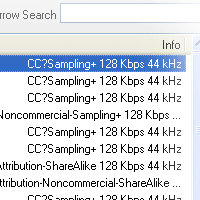 |
Licenses in Search Results
You should see Creative Commons license information in your search results. |
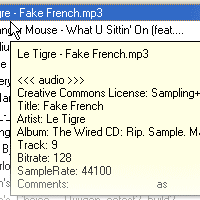 |
View license information in your results
Mousing over individual results will also display any Creative Commons license information. When downloading licensed songs, you may want to verify the files with CC Lookup. |
Helpful Links
- Morpheus also has a detailed how-to on publishing your Creative Commons licensed audio files, finding licensed files, and verifying licensed files.
- Download our CC Publisher and CC Lookup
Adding a license to your audio page
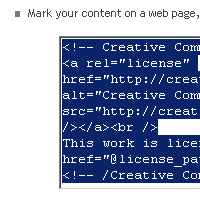 |
Step two: Copy the code
On the "Mark your content" page of the license process, copy the code provided by highlighting it with your mouse and hitting ctrl-c (command-c on a Mac). |
Video
Internet Archive
You can quickly and easily publish your video files to the Internet Archive using our CC Publisher application. CC Publisher is a tool that does two things: it will help you tag your video files with information about your license and it allows you to upload Creative Commons-licensed audio and video works to the Internet Archive for free hosting.
CC Publisher is available for Windows, Mac OS X and Linux operating systems. Download links and installation instructions can be found on the CC Publisher page.
Using CC Publisher
| File:1-ccpublisher.gif | Step one: Dragging your video into CC Publisher
Start the CC Publisher application and hit Next on the introductory screen. The process starts by adding your files to be tagged/uploaded. You can use the browse function to find the files, or simply drag and drop as many files that you would like to license (all with the same license) and upload (all into the same collection at Internet Archive). |
| Step two: Adding information about your works
The next screen will ask for information about your recording or video, which will help others find it at the archive and build up the metadata in your audio/video files. |
| Step three: Choose your license
CC Publisher lets you choose one of several license types and the options for each. |
| Step four: Logging into the Internet Archive
To upload your works to the Internet Archive, you'll need an account there to associate your files with. If you don't have an account there, there is a handy button within CC Publisher that will launch a web browser and allow you to join it. |
| Step five: Start your upload to the Archive
The final step is to upload your works to the Internet Archive. Depending on your connection and the size of files you are uploading, this step can take anywhere from a few seconds to several hours. |
| Step six: All done!
When your upload is complete, the Publisher application will furnish you with a URL that should be live within 24 hours at the Archive. |
Adding a license to your video page
 |
Step two: Copy the code
On the "Mark your content" page of the license process, copy the code provided by highlighting it with your mouse and hitting ctrl-c (command-c on a Mac). |
Image
Flickr
 |
Step one: Sign up at Flickr
Flickr is an online photo sharing service that offers Creative Commons licenses on your photos. The easiest way to post images online with a Creative Commons license is to let Flickr handle all the hosting, posting, and licensing for you. Start by signing up a new (free) account at Flickr. |
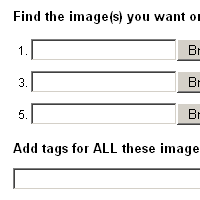 |
Step two: Upload your images to Flickr
Flickr offers a variety of upload tools that work within several popular programs, but the easiest way is to upload them directly through their website. |
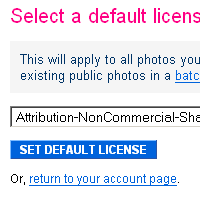 |
Step three: Choose a license at Flickr
The last step is to apply a license for all your uploaded photos. |
Buzznet
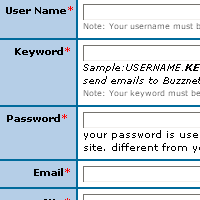 |
Step one: Sign up at Buzznet
Buzznet is photo hosting service offering Creative Commons licenses for your photos. The easiest way to post images online with a Creative Commons license is to let Buzznet handle all the hosting, posting, and licensing for you. Start by signing up a new (free) account at Buzznet. |
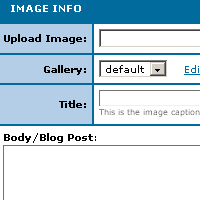 |
Step two: Upload your images to Buzznet
Buzznet lets you upload images directly through their website. Clicking "Post" will take you to the upload page. |
Adding a license to your photo pages
 |
Step two: Copy the code
On the "Mark your content" page of the license process, copy the code provided by highlighting it with your mouse and hitting ctrl-c (command-c on a Mac). |
If you use custom photo gallery software to display your images, try pasting the code into the "footer" file in your site, or the section of the gallery that controls what the bottom of pages look like.
Text
Blog
Adding a license to your Movable Type Weblog
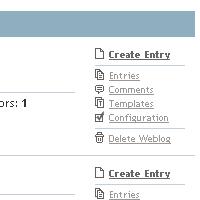 |
Step one: Login to Movable Type
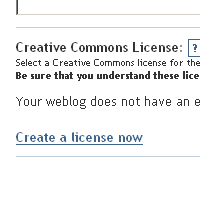
You'll want to start by logging into your Movable Type installation, and finding the "Edit Configuration" link for the blog you'd like to license. |
Adding a license to Blogger/Blogspot
 |
Step one: Choose a license
Start by choosing a license for your work at the Creative Commons website. |
 |
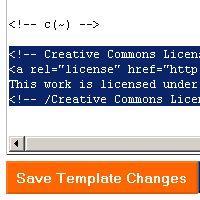
Step two: Copy the code
On the "Mark your content" page of the license process, copy the code provided by highlighting it with your mouse and hitting ctrl-c (command-c on a Mac). |
Adding a license to Typepad
(Follow the first two steps above to choose a license and copy the code)
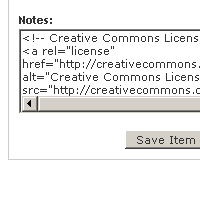 |
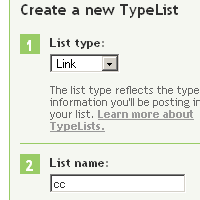
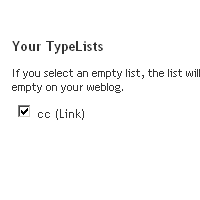
'Step four: Paste code into your new Typelist
Click "New Item" to add a Typelist item, and paste your license code into the "Notes" area and save the item. |
Adding a license to LiveJournal
(Follow the first two steps above to choose a license and copy the code)
- While logged in, go to the LiveJournal homepage and look at the header.
- If it's a personal blog, choose "Journal" then "Journal style".
- If it's a community, choose "Communities" then "Manage," and for the community you want to mark, click "[Journal Style]" on the right.
- On the right, under "(blog name)'s current theme", click "Customize your theme".
- Click Sidebar and paste the HTML code into the relevant box. (Depending on the theme, you may need to click "sidebar" there may be one or many boxes, and you may need to click "Free Text Sidebox" to make them visible.)
Save and see how it looks.
Depending on the options you've chosen, this may look a bit bulky or messy - you may want to add <small> </small> tags to the text under the box.
Depending on the theme you are using, you may be able to add the mark elsewhere, e.g. in a footer (?).
Another option is to edit the CSS directly, if you know how to do this. Instead of clicking "Sidebar", click "Custom CSS" and go from there. LiveJournal's way of selectively presenting the CSS {?) differs from other blog platforms, so this can be confusing if you're not used to it. Make a copy of the previous version of the CSS into a text file, and note the settings, in case something goes wrong and you need to change it back.
Adding a license to your WordPress Weblog
See Adding a CC mark to a WordPress blog (covers blogs on both WordPress.com and on your own installation).
Adding a license to your existing website
 |
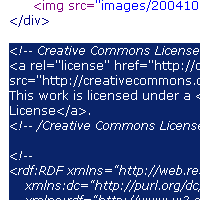
Step two: Copy the code
On the "Mark your content" page of the license process, copy the code provided by highlighting it with your mouse and hitting ctrl-c (command-c on a Mac). |
Education
Adding a license to your existing website
 |
Step two: Copy the code
On the "Mark your content" page of the license process, copy the code provided by highlighting it with your mouse and hitting ctrl-c (command-c on a Mac). |
