Difference between revisions of "Blog/Publish"
(→Tumblr) |
|||
| (12 intermediate revisions by 2 users not shown) | |||
| Line 1: | Line 1: | ||
| − | + | You can add a CC license to almost any blog as you can almost any [[Website/Publish|website]]. Here are instructions for a few specific blogging platforms. | |
| − | == | + | ==WordPress== |
| − | |||
| − | |||
| − | |||
| − | + | See [[Adding a CC mark to a WordPress blog]]. | |
| − | |||
| − | + | ==Blogger== | |
| − | |||
| − | |||
| − | + | {| | |
| − | | | + | |[[Image:1-chooselicense.gif]] |
| + | |'''Step one: Choose a license''' | ||
| + | |||
| + | Start by choosing a license for your work at the Creative Commons website. | ||
| − | + | [http://creativecommons.org/license/ Choose a license for your blog] | |
| + | |} | ||
{| | {| | ||
| − | | [[Image : | + | |[[Image:2-copycode.gif]] |
| − | + | |'''Step two: Copy the code''' | |
| − | + | On the "Mark your content" page of the license process, copy the code provided by highlighting it with your mouse and hitting ctrl-c (command-c on a Mac). | |
| + | |} | ||
| − | [ | + | {| |
| + | |[[Image:3-blogger.gif]] | ||
| + | |'''Step three: Paste code into your Blogger Template''' | ||
| + | |||
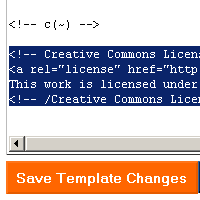
| + | Log into your Blogger blog, then click the Template tab to edit the code. Near the end of the template code, before you see </body></html>, paste in the code copied in the previous step by clicking the page and hitting ctrl-v (command-v on a Mac). | ||
| + | |||
| + | Click "Save Template Changes" then republish your blog to add your license to your Blogger site. | ||
|} | |} | ||
| + | |||
| + | ==Movable Type== | ||
{| | {| | ||
| − | | [ [ | + | |[[Image:1-movabletype.gif]] |
| − | + | |'''Step one: Login to Movable Type''' | |
| − | + | You'll want to start by logging into your Movable Type installation, and finding the "Edit Configuration" link for the blog you'd like to license. | |
|} | |} | ||
{| | {| | ||
| − | | [[Image : | + | |[[Image:2-movabletype.gif]] |
| − | + | |'''Step two: Edit Configuration/Choose license''' | |
| + | |||
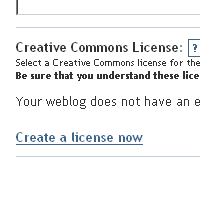
| + | On the main configuration page, click on the "Preferences" option in the upper right area, then scroll down to the link marked "Create a License now" link. Answer the questions, scroll down to save your configuration, then republish your blog to see a license button added to your site. | ||
| + | |} | ||
| + | |||
| − | + | ==Typepad== | |
| − | + | Begin by follow the first two steps above for Blogger to choose a license and copy the code. | |
| + | |||
| + | {| | ||
| + | |[[Image:3-typepad.gif]] | ||
| + | |'''Step three: Create a new Typelist''' | ||
| + | |||
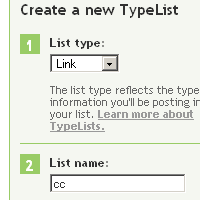
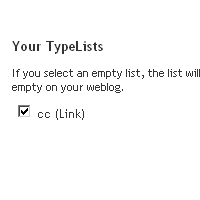
| + | You'll want to create a new Typelist to hold the Creative Commons license code. Log into Typepad, then click on the Typelists tab, and create a new Typelist called CC or Creative Commons, and make it a Link type of list. | ||
| + | |} | ||
| + | |||
| + | {| | ||
| + | |[[Image:4-typepad.gif]] | ||
| + | |'''Step four: Paste code into your new Typelist''' | ||
| + | |||
| + | Click "New Item" to add a Typelist item, and paste your license code into the "Notes" area and save the item. | ||
| + | |} | ||
| + | |||
| + | {| | ||
| + | |[[Image:5-typepad.gif]] | ||
| + | |'''Step five: Change Typelist configuration''' | ||
| + | |||
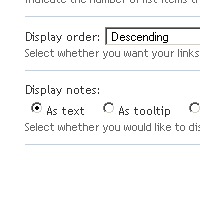
| + | Once the item is saved in your new Typelist, click the "Edit Configuration" link for your Creative Commons typelist, then scroll down to the Advanced options, and under "Display Notes" click the "as text" option and save. | ||
|} | |} | ||
| − | + | {| | |
| + | |[[Image:6-typepad.gif]] | ||
| + | |'''Step six: Add Typelist to your blog''' | ||
| − | + | The last step is to add the typelist to your blog. Click the "Edit Design" option on your blog, then click the "Content" link and scroll down to the Typelists options, then click your Creative Commons typelist, save, then republish your blog to add the license. | |
| + | |} | ||
| + | == Tumblr == | ||
{| | {| | ||
| − | | [[Image : | + | |[[Image:1-chooselicense.gif]] |
| − | + | |'''Step one: Choose a license''' | |
| + | |||
| + | Start by choosing a license for your work at the Creative Commons website. | ||
| − | + | [http://creativecommons.org/license/ Choose a license for your Tumblr blog.] | |
|} | |} | ||
{| | {| | ||
| − | | [ [ | + | |[[Image:Tumb1.png]] |
| − | + | |'''Step two: Login to Tumblr, go to "Customize"''' | |
| − | + | Start by logging into Tumblr, going to the "Customize" dashboard, and clicking the "Theme" menu item. | |
|} | |} | ||
{| | {| | ||
| − | | [[Image : | + | |[[Image:Tumb2.png]] |
| − | + | |'''Step three: Modify HTML''' | |
| − | + | Click the "Customize HTML" button on your theme to edit the HTML directly. | |
|} | |} | ||
{| | {| | ||
| − | | [[Image : | + | |[[Image:Tumb3.png]] |
| − | + | |'''Step four: Embed license code in the Tumbler theme HTML''' | |
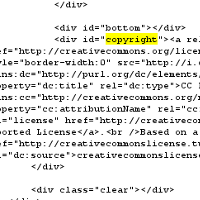
| + | You will need to place the HTML you generated in Step 1 into the theme HTML. The best location will vary on the theme, but one common method would be to replace the existing Copyright disclaimer with the CC license code. You might additionally need to customize the blog's CSS code to display the CC license mark appropriately. | ||
| − | + | If you have little experience with HTML or CSS, you could try simply inserting the HTML code somewhere near the bottom of the page. Experiment with different placements until you find somewhere that works. | |
|} | |} | ||
Latest revision as of 00:13, 31 August 2010
You can add a CC license to almost any blog as you can almost any website. Here are instructions for a few specific blogging platforms.
Contents
WordPress
See Adding a CC mark to a WordPress blog.
Blogger
 |
Step one: Choose a license
Start by choosing a license for your work at the Creative Commons website. |
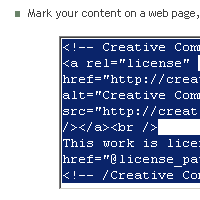 |
Step two: Copy the code
On the "Mark your content" page of the license process, copy the code provided by highlighting it with your mouse and hitting ctrl-c (command-c on a Mac). |
Movable Type
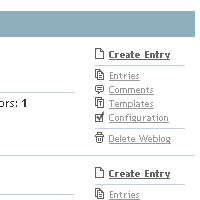 |
Step one: Login to Movable Type
You'll want to start by logging into your Movable Type installation, and finding the "Edit Configuration" link for the blog you'd like to license. |
Typepad
Begin by follow the first two steps above for Blogger to choose a license and copy the code.
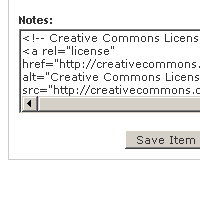 |
Step four: Paste code into your new Typelist
Click "New Item" to add a Typelist item, and paste your license code into the "Notes" area and save the item. |
Tumblr
 |
Step one: Choose a license
Start by choosing a license for your work at the Creative Commons website. |
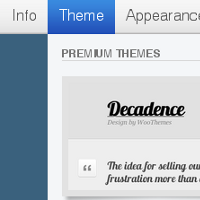 |
Step two: Login to Tumblr, go to "Customize"
Start by logging into Tumblr, going to the "Customize" dashboard, and clicking the "Theme" menu item. |
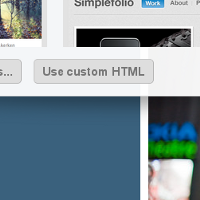 |
Step three: Modify HTML
Click the "Customize HTML" button on your theme to edit the HTML directly. |
