CC Publisher
Contents
- 1 NOTE
- 2 Installing CC Publisher
- 3 Using ccPublisher
- 3.1 Step one: Dragging your songs/videos into ccPublisher
- 3.2 Step two: Adding information about your works
- 3.3 Step three: Choose your license
- 3.4 Step four: Specify format information
- 3.5 Step five: Select your destination
- 3.6 Step six: Logging into the Internet Archive
- 3.7 Step seven: Start your upload to the Archive
- 3.8 Step eight: All done!
- 4 Support
- 5 Developers
NOTE
CC Publisher is no longer developed or supported, and is not available for download. This page is for historical reference only.
Installing CC Publisher
Installing the application is as simple as downloading the appropriate package below. Once downloaded simply double click the installer (Windows) or drag the application file to your Applications directory (Mac), then run the program. The latest release is 2.2.1. See the CcPublisher System Requirements for supported platforms.
Windows
ccPublisher-2.2.1.0-setup.exe (Windows XP/2000 Installer; MD5 checksum: 2e8f1c96433476668dd4eb511a16dc4d)
Mac
ccPublisher-2.2.1.zip (Mac OS X Zip file)
Linux
ccPublisher-2.2.1.tar.gz (Source Tarball for Linux) See ccPublisher on Linux for information on running ccPublisher on Linux.
Using ccPublisher
Step one: Dragging your songs/videos into ccPublisher
[[Image:ccp2_screenshot_2.png]
Start the ccPublisher application and hit Next on the introductory screen. The process starts by adding your files to be tagged/uploaded. You can use the browse function to find the files, or simply drag and drop as many files that you would like to license (all with the same license) and upload (all into the same collection at Internet Archive).
Step two: Adding information about your works
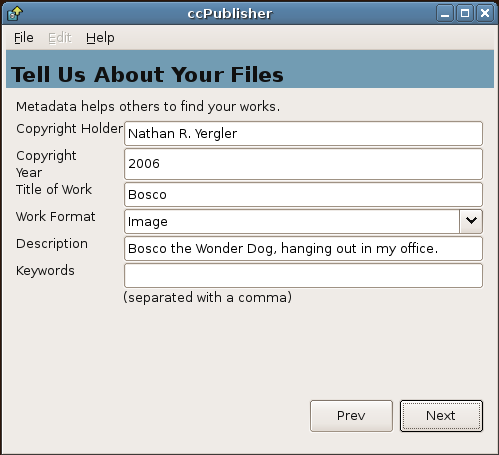
The next screen will ask for information about your work, which will help others find it at the Internet Archive.
Es simplemente una cancion que espero disfruteis tanto como yo de ella un abrazo
Step three: Choose your license
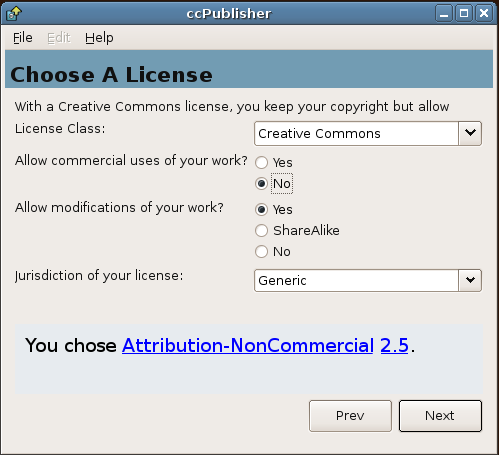
ccPublisher lets you choose one of several license types and the options for each.
Step four: Specify format information
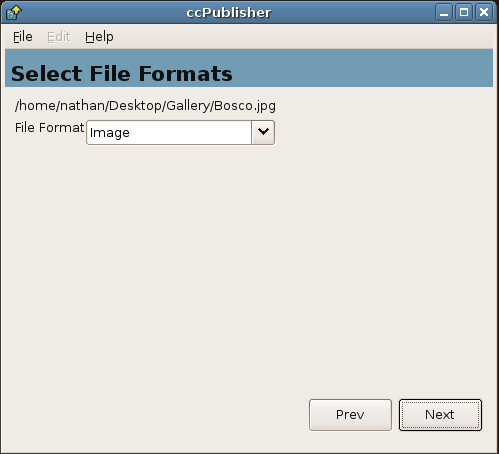
Format information helps the Internet Archive
Step five: Select your destination
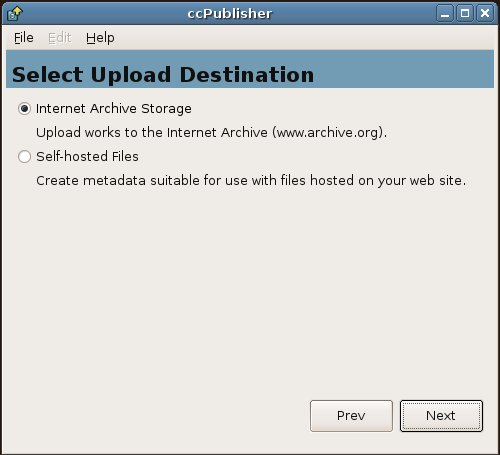
ccPublisher lets you upload your work to the Internet Archive or generate some HTML for use when hosting it yourself. Select your destination and click Next. For details on self-hosting, see CcPublisher Self-Hosting.
Step six: Logging into the Internet Archive
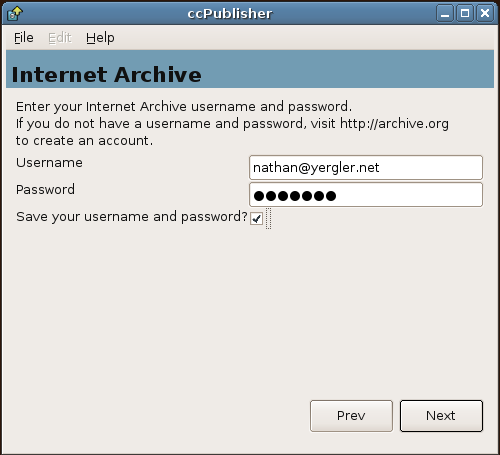
To upload your works to the Internet Archive, you'll need an account there to associate your files with. If you don't have an account there, you can go to http://archive.org and create one.
Step seven: Start your upload to the Archive
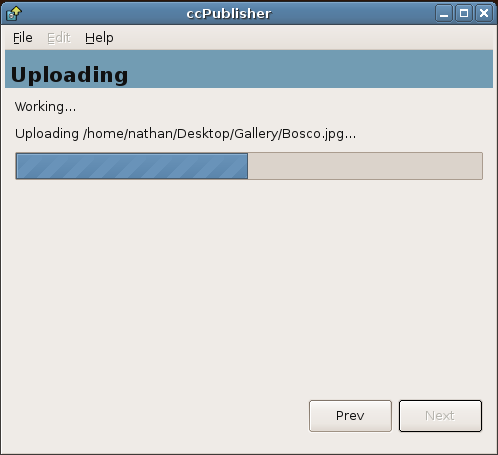
The final step is to upload your works to the Internet Archive. Depending on your connection and the size of files you are uploading, this step can take anywhere from a few seconds to several hours.
Step eight: All done!
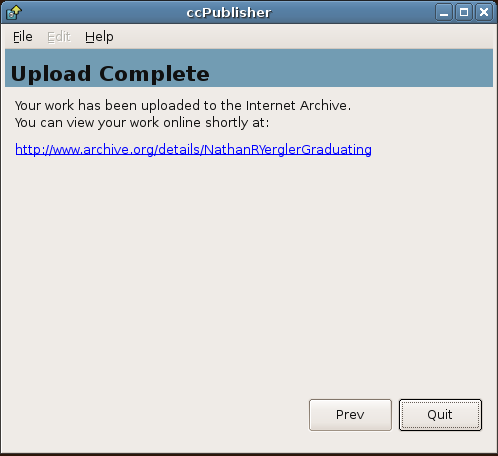
When your upload is complete, click Next and the Publisher application will furnish you with a URL that should be live within 24 hours at the Archive. If you'd like to use a file-sharing application or add the files to your own website, the file can be found in its original location on your computer, which you can upload to a site or move into a shared downloads folder for P2P (for more info, see our tutorial for sharing your CC music via Morpheus).
Support
If you have problems with ccPublisher, or just questions or suggestions, you can do one of two things:
- email software@creativecommons.org (good)
- file a bug or feature request in the ccPublisher Tracker (better)
Developers
ccPublisher developer information is located on the ccPublisher Developer page. Discussion about feature requests and development takes place on the cc-devel mailing list.
